 Let me preface this post that this recipe isn’t a traditional focaccia bread. It is classic in my house, though, and for sure a delicious spin off. Trust me on this, this focaccia bread from scratch is a must try.
For dinner parties or when I have people over for dinner I often make this homemade focaccia bread because the recipe makes two large loaves so there is plenty for everyone. Whenever I tell people that I made the focaccia bread from scratch they are really impressed. I mean, it sounds really complicated and time intensive to make this beautiful and delicious bread. Lucky for me (and you!) it is so easy and really looks and sounds much more complicated than it really is.
Here’s what you will need for your homemade focaccia bread
2 Tablespoons Yeast
1 Tablespoon Sugar
2 1/2 Cup of warm (not hot!) water
1 Tablespoon Salt 1 Tablespoon Olive Oil + more for the top
All-Purpose Flour (more than five cups, depending on the day..Ill explain below)
1-2 Cloves Garlic, sliced
Coarse Sea Salt
Ground Pepper
Dried Rosemary
First you will want your yeast to “proof”. Basically this means you put the two tablespoons of yeast in a mixing bowl with a dough hook attached, add one tablespoon of sugar, and the two and a half cups of warm water. The sugar ‘feeds’ the yeast and the warm water ‘wakes it up’. Make sure the water isn’t too hot, think baby bath warm.
After about ten minutes your yeast should should look a little foamy on top, this means it is ready to become dough! Add one tablespoon of salt and one tablespoon of olive oil.
Start the mixer on low and add the flour one cup at a time. I never fully measure how much flour I will need because every time I make it is different. The dough acts differently when it is raining or bone dry out, winter or summer, Tuesday or Friday. I mean, yeast is a living organism so I can’t blame it for being unpredictable, I am too!
I think this is why people are afraid to make yeast breads, because the recipe fluctuates when it comes to the amount of flour you use. Don’t worry, if you check the video below I’ve given you a fool-proof way to check to see if your dough has enough flour. Okay, back to the directions..
As you add the flour one cup at a time you will notice the dough start to look a little stringy, like shredded cloth. At this point start adding the flour one heaping tablespoon at a time. Soon your dough will form a sticky ball, keep kneading and add flour one smaller tablespoon at a time. You may have to scrape the bowl down periodically, that’s okay. You know your dough is ready when you push down on it and the dough slowly rises back up from where you pushed. If it sticks to you add a little more flour, if it hard as a rock and doesn’t move back into place, add a teaspoon or two of water and knead again.
Spray a large bowl with cooking spray and put the dough into it, you want the bowl to be twice as big as the dough right now because it will grow to that size. Cover with sprayed plastic wrap or a clean tea towel and put in a warm spot (think sunny window or over a register if it is winter).
After about 30 minutes your dough should have doubled in size. With well floured hands gently push the dough down (or punch it down quick!) and divide into two even pieces. Start to shape the dough by molding the sides toward the back and pinching it together. The top should be smoother and the bottom should be all pinched together. Don’t worry if it doesn’t look perfect, I told you this dough is really forgiving and will still turn out great!
Put both loaves of dough on a parchment lined baking sheet. If you have a baking stone you can dust it with cornmeal and use that too. Cover with sprayed plastic wrap or the tea towel and put on your stovetop. Turn on your oven now to preheat to 425. While the oven is warming up the dough should be able to grow a little and the warm oven will help it get bigger more quickly.
Once the oven is up to temperature, take a small paring knife and poke 3-5 holes in the top of your dough, depending on how garlicy you want the bread to be. Then, coat the entire surface all the way to the base with olive oil. Don’t be afraid to use your hand to cover up any dry spots. Push the garlic slices down into the holes you cut, generously shake on the coarse sea salt, pepper, and dried rosemary. I emphasize the word generously because the loaves will grow in the oven and the toppings will spread out, so you will need more to make up for that.
Bake the loaves at 425 for 30-35 minutes. It’s important to let the loaves rest for about 15 minutes before slicing into them so they can finish baking inside the curst and the bread won’t fall apart. Trust me, after getting excited and cutting in too soon and watch your hard work turn to mush, you will wish you were stronger in mind than stomach. A struggle I fail at daily.
This bread is fabulous on its own, but we also like to dip it in olive oil and vinegar or in warmed up pizza sauce.

Happy dough, after it’s been woken up with warm water and sugar, ready for the rest of the ingredients!
This video shows you how the dough looks like after you have added enough flour and kneaded it enough. Notice how it slowly goes back into shape after I push down. (Also, sorry for the cheesy music, I had NPR on in the background when I was doing this and it sounded weird on the film.)
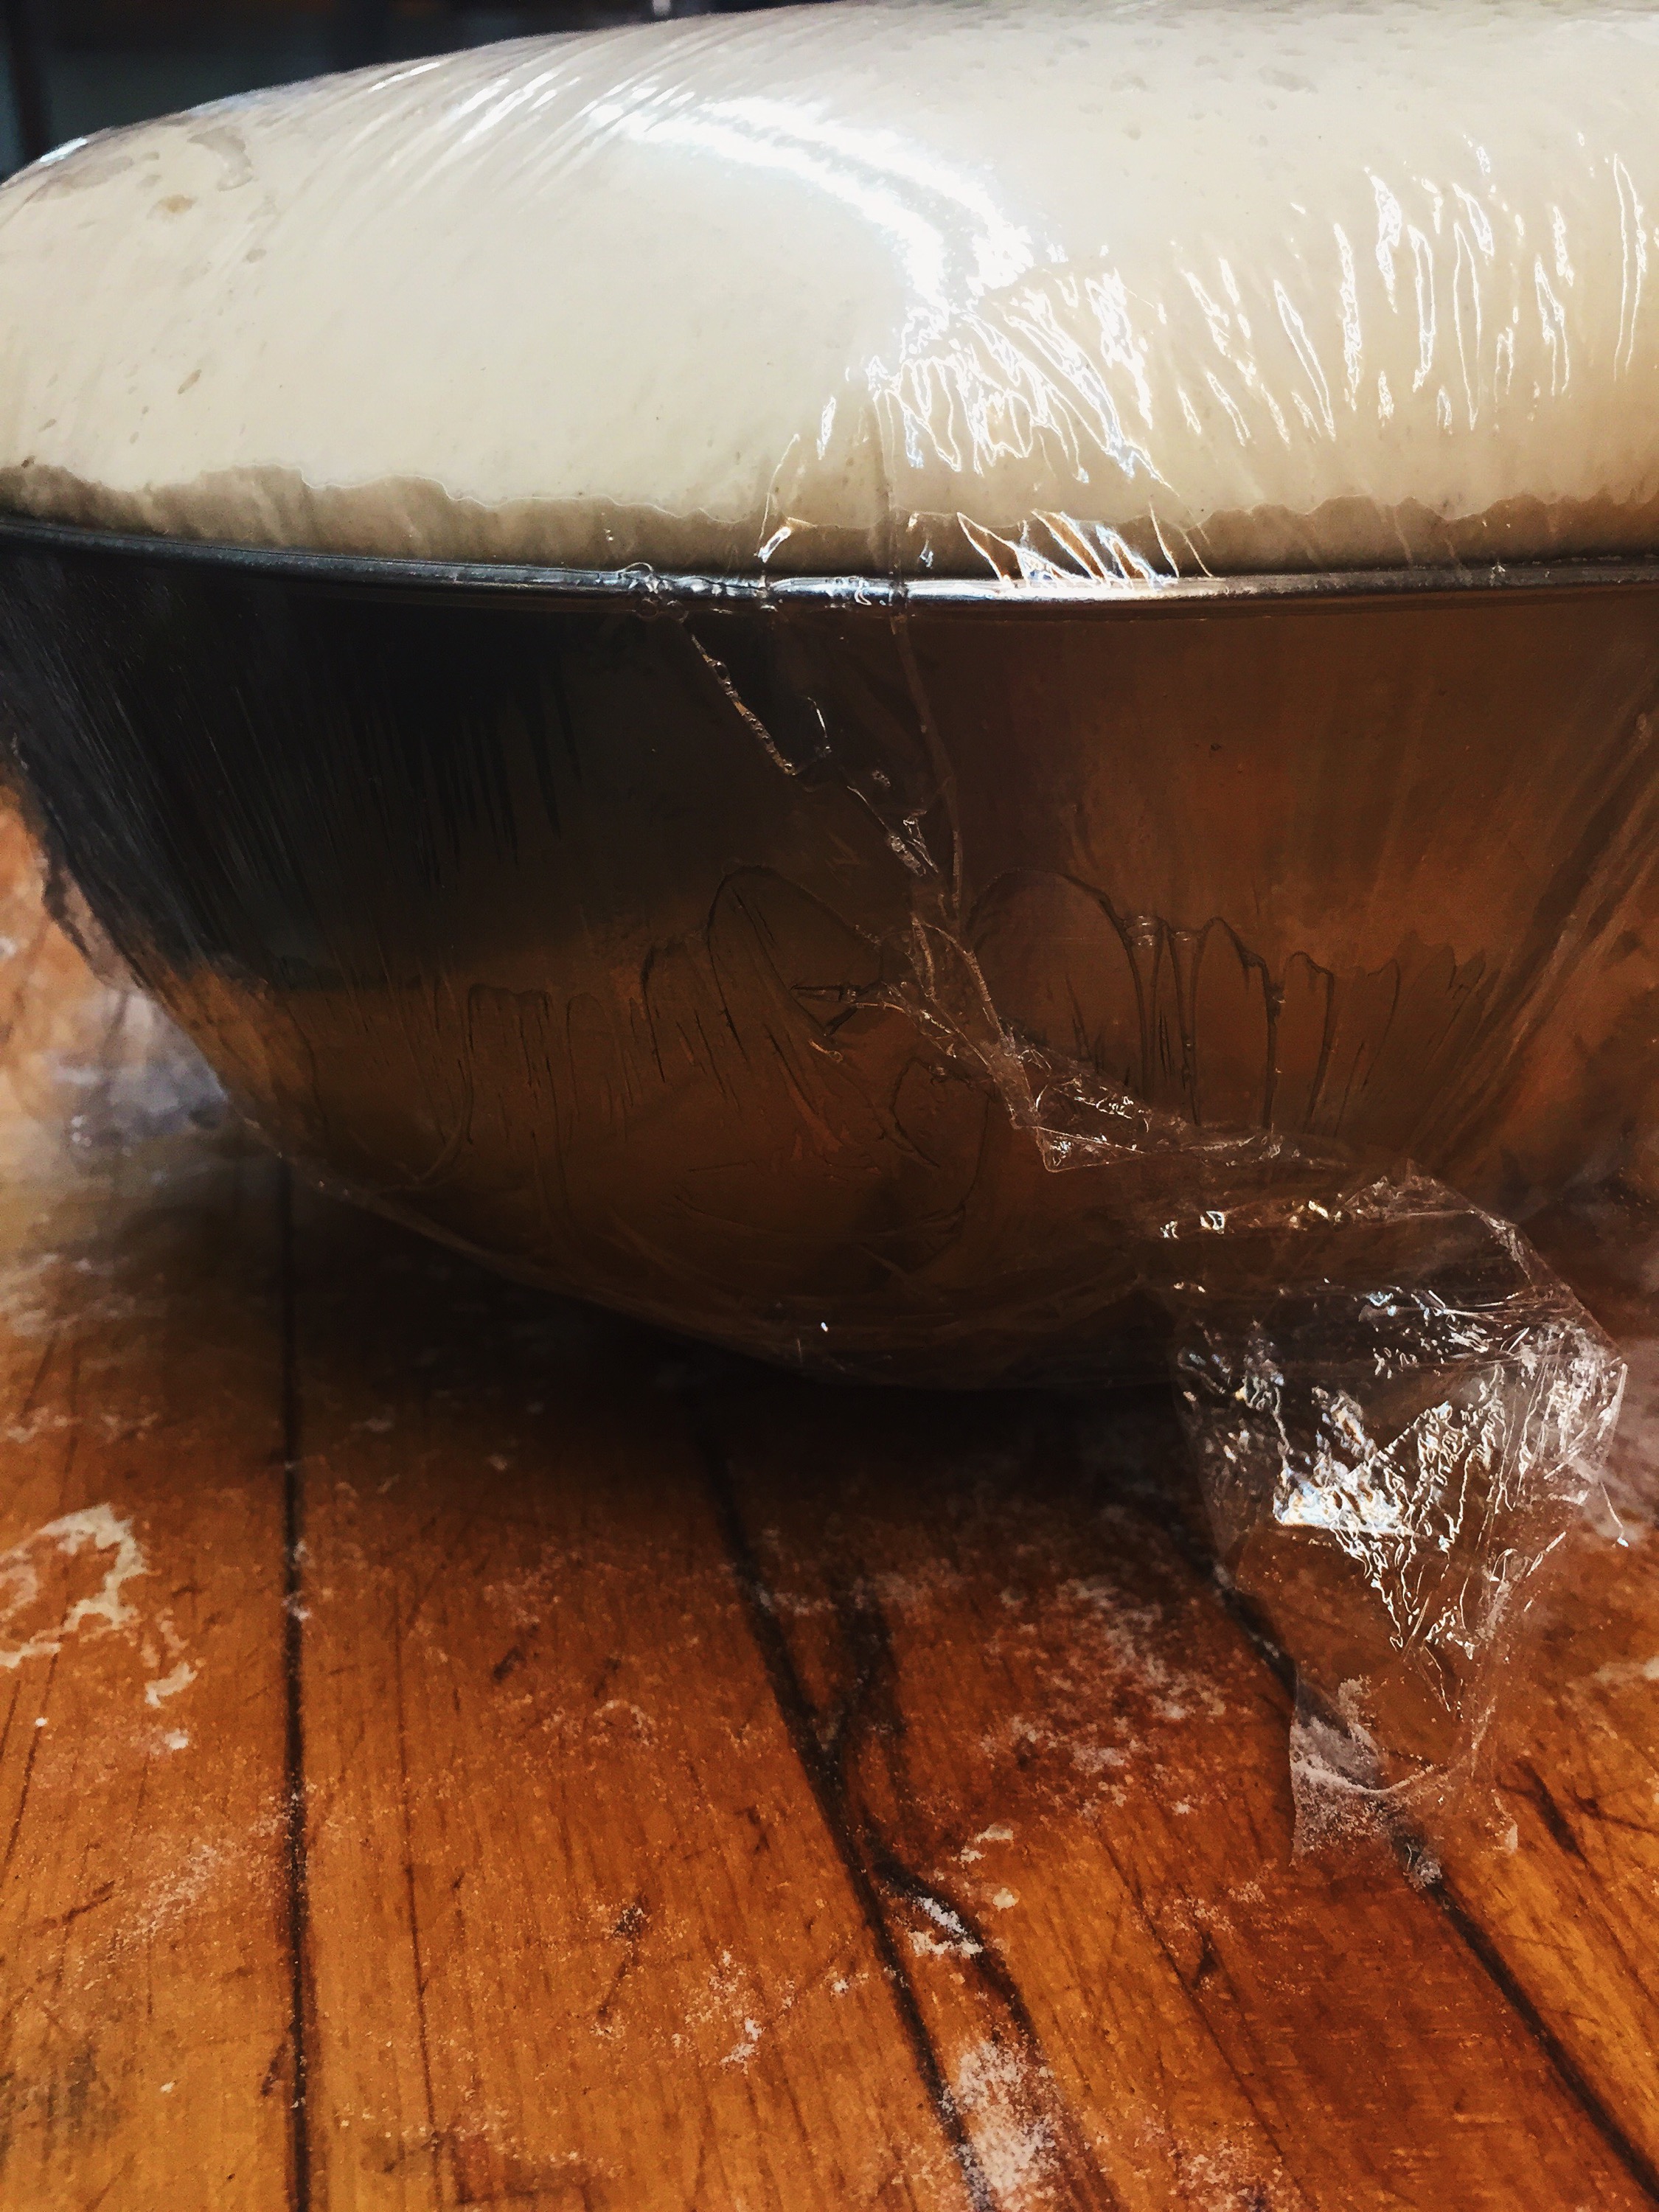
Dough after it has doubled in size, ready to be shaped and baked!
This is what the bottom of your dough should look like after you have shaped it into a ball. It’s all pinched together so it can be smooth on the top.

Here is the dough, ready to be covered with delicious toppings!
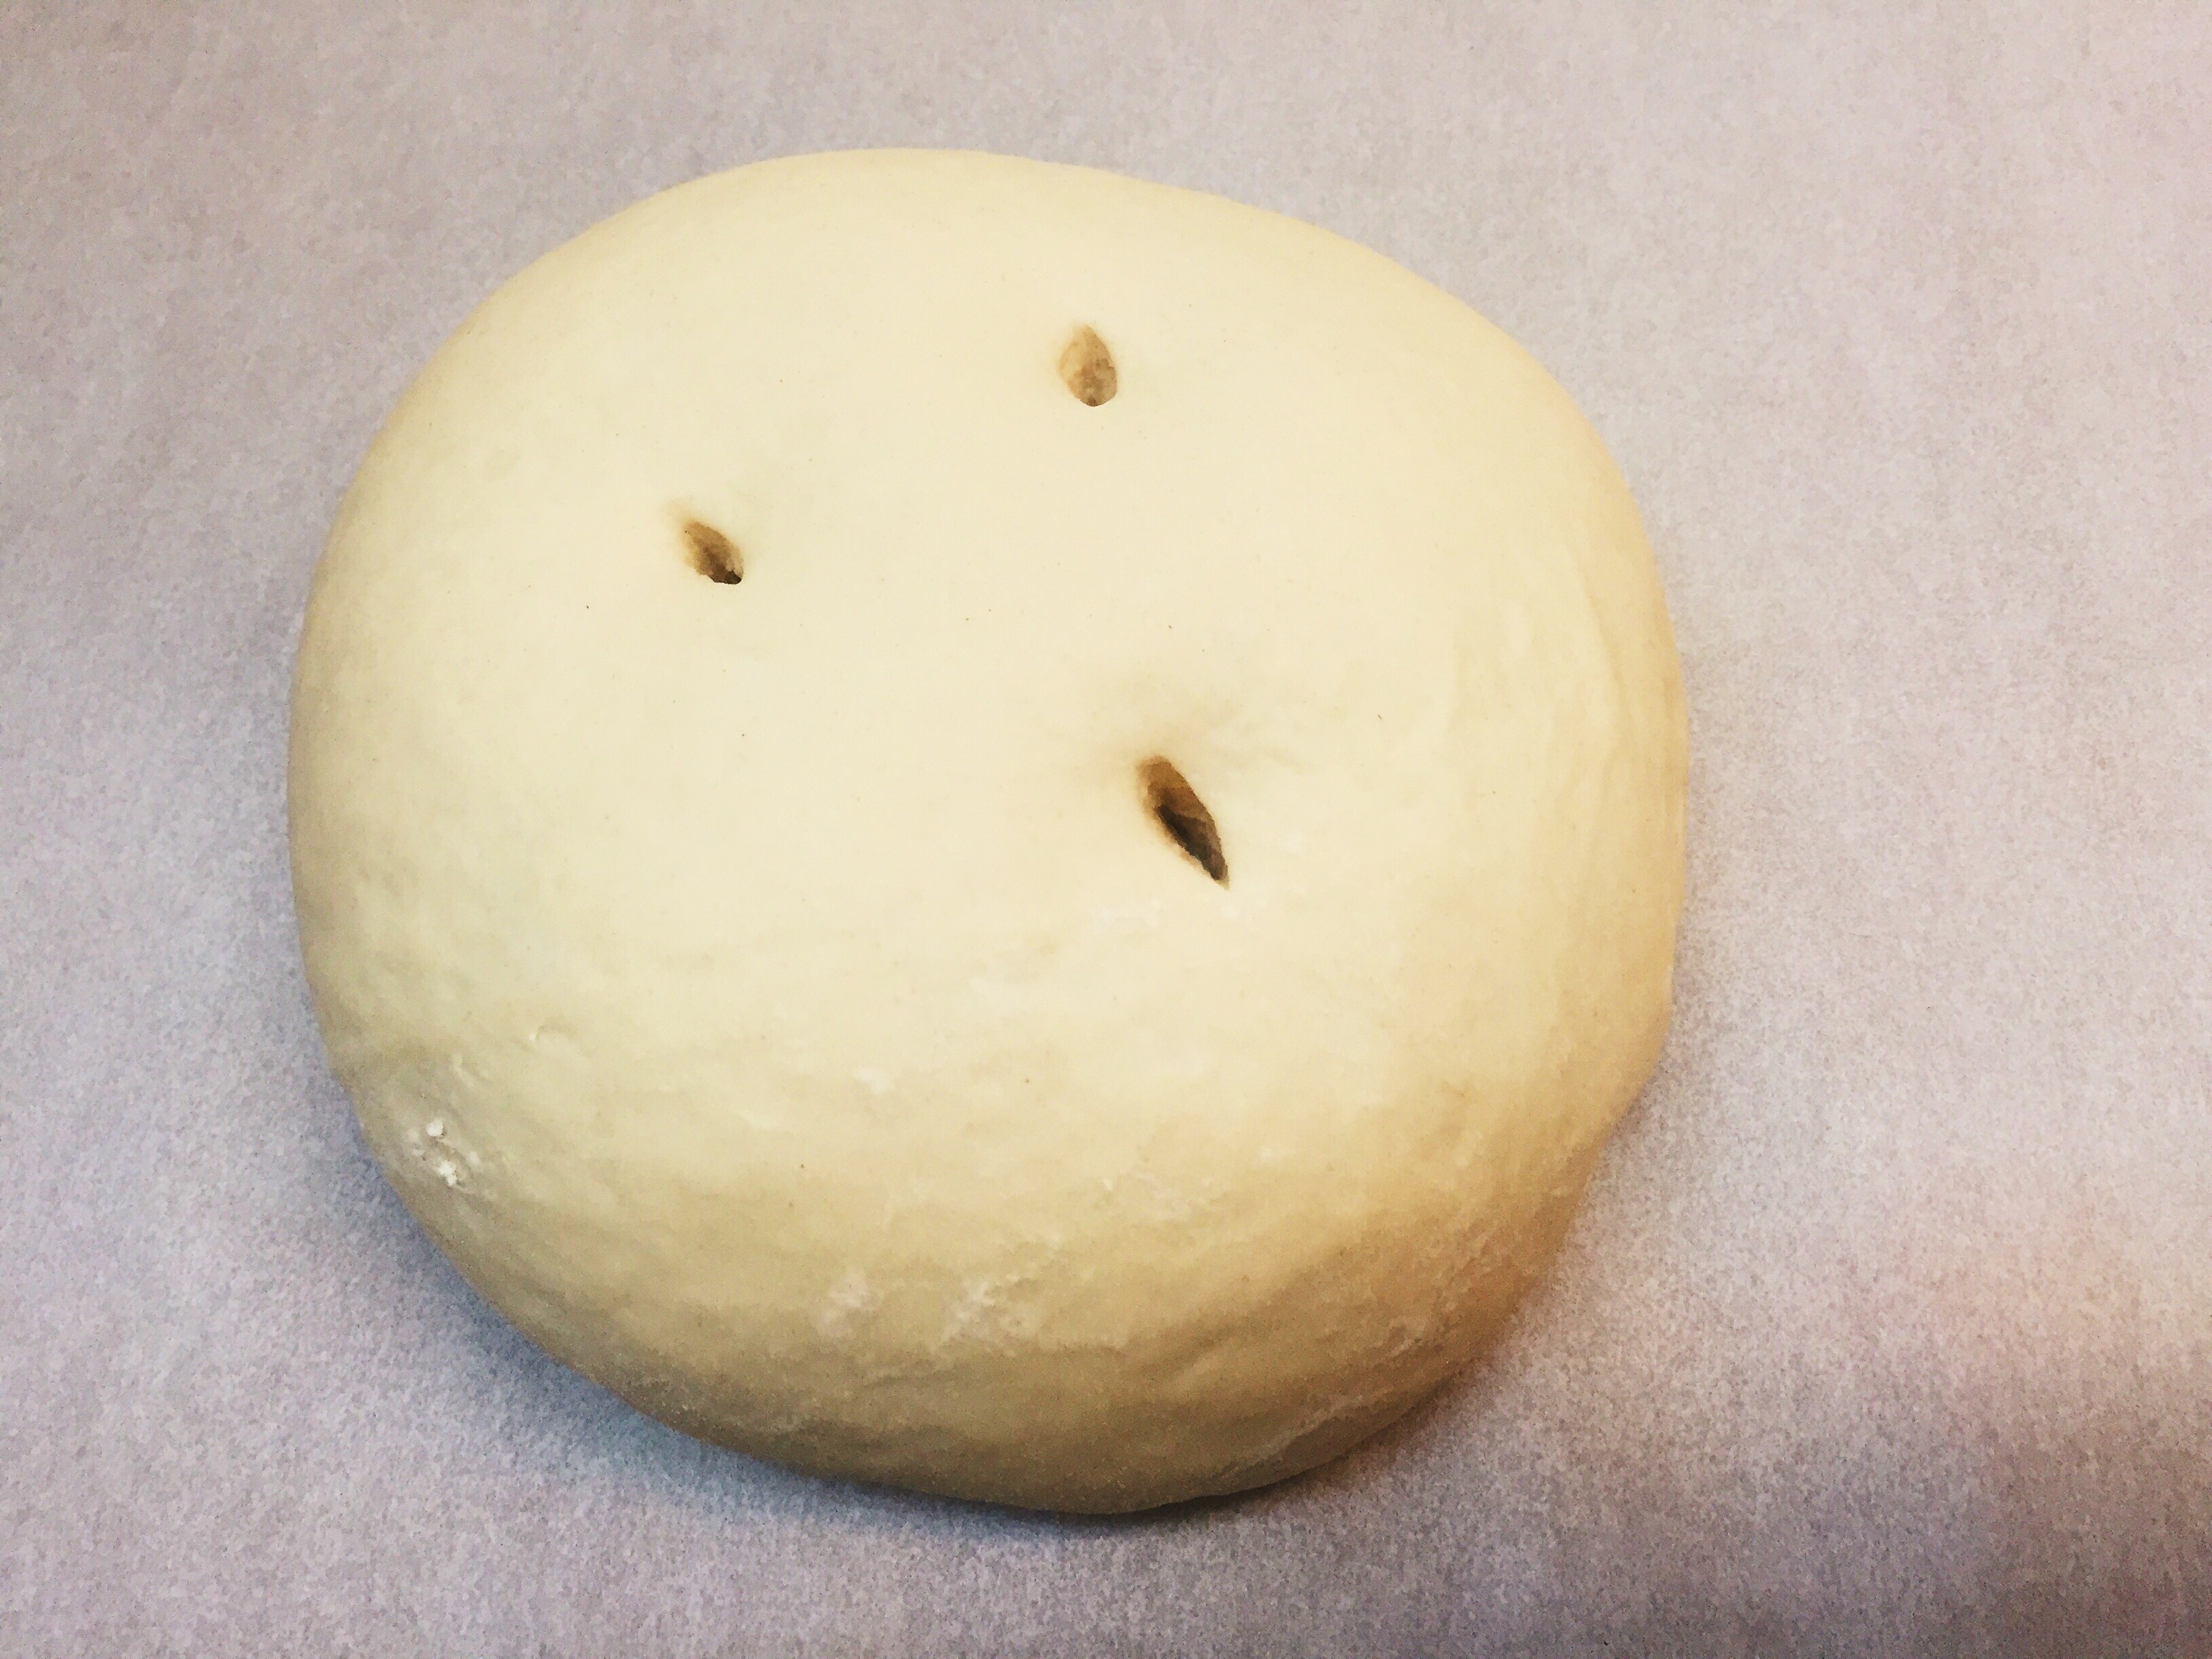
This is what the dough looks like after you have poked it with a knife, before covering with olive oil and sticking the garlic slices down into it and coating with salt, pepper, and rosemary.
Trust me, making focaccia bread from scratch sounds really difficult but it isn’t! This recipe is really forgiving. If you add a little too much flour or not enough you can just make up for it by adding a little more flour or a little more water. If you have any questions or find yourself stuck, write it in a comment and I will do my best to answer.
xoxo,


