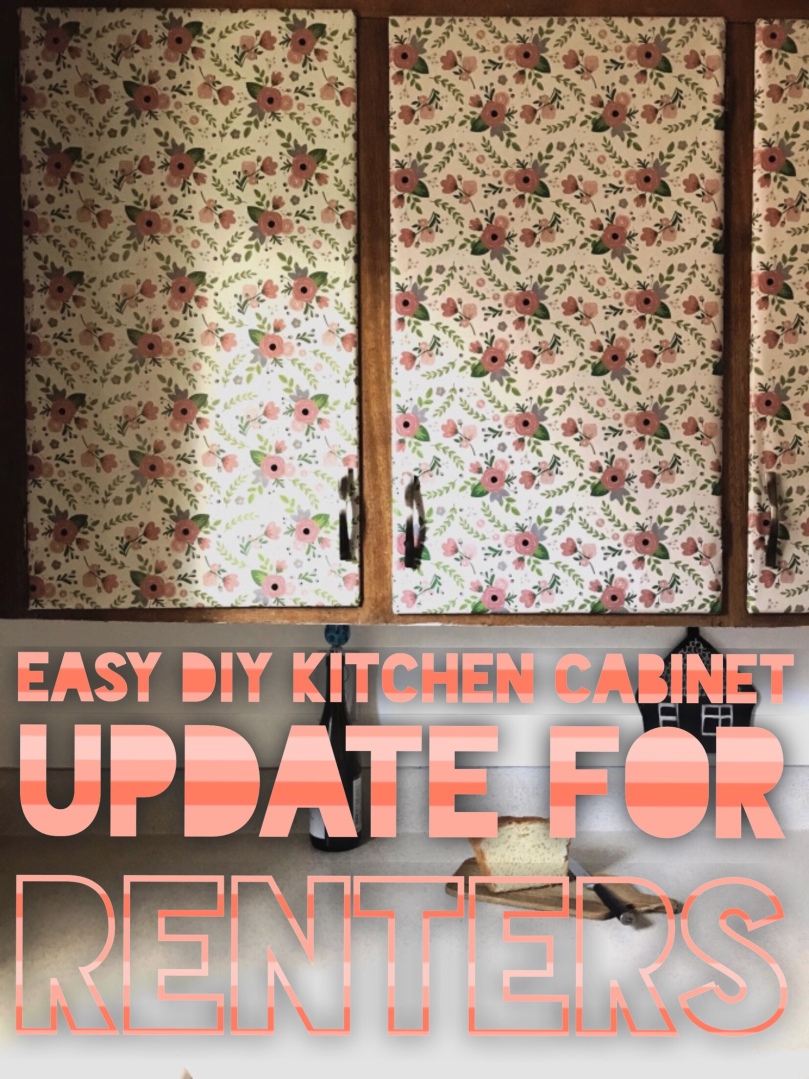
I was tired of looking at my outdated, oh-so-brown cabinets in our rental. With only one tiny window above the sink the space gets very little natural light which makes me not excited to cook in when I’d rather be outside in the sunshine.
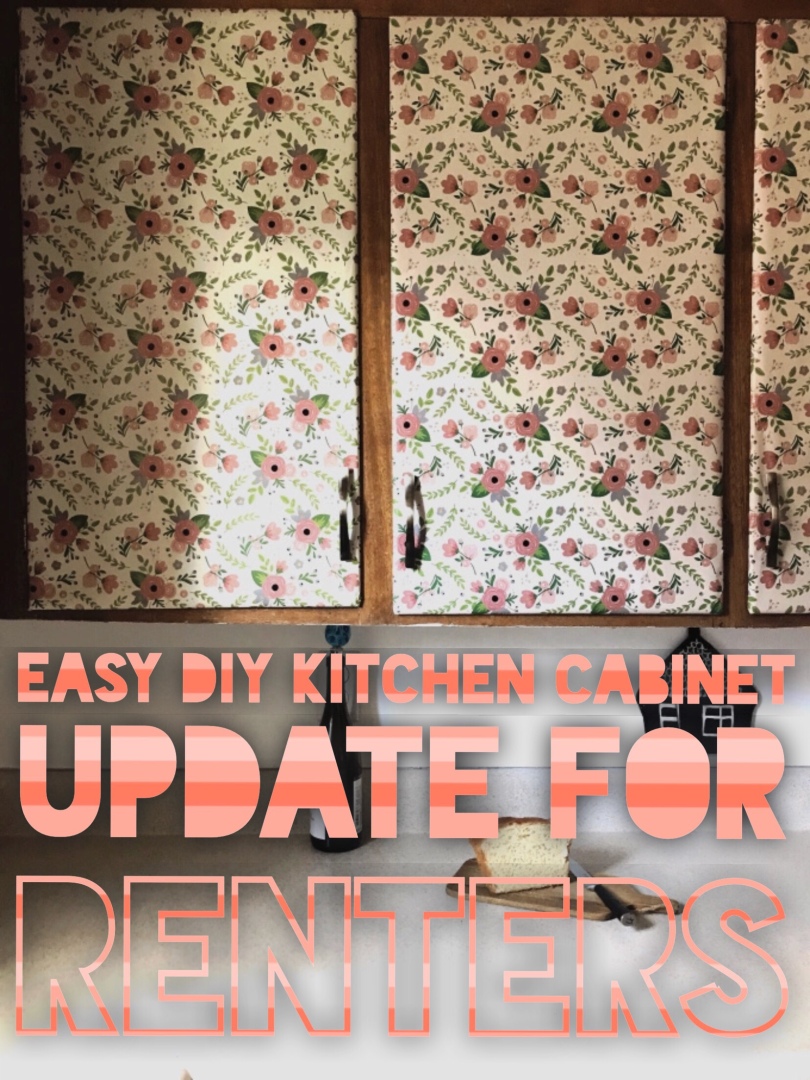
Rather than spending lots of time and money painting or putting up peel-off vinyl on my cabinets I went for a much quicker and easier route – wrapping paper!
The entire project took less than 2 hours and cost less than 10 dollars!
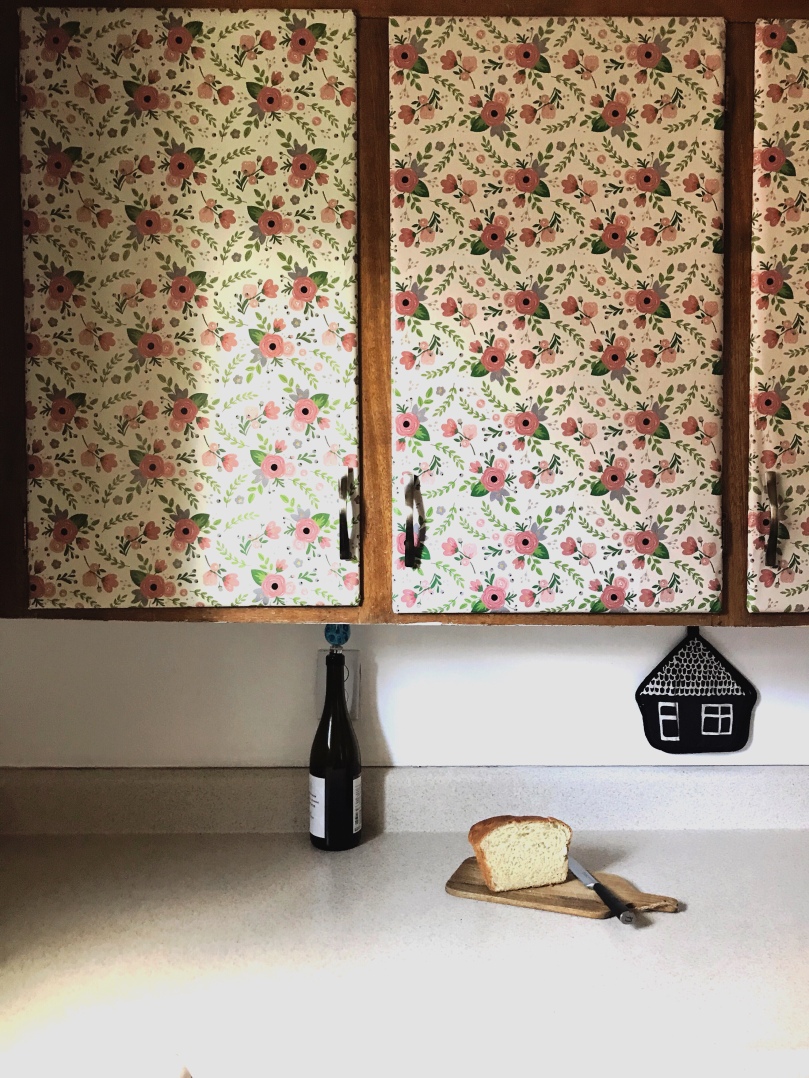

Heres how I did it
- Remove cabinet doors from hinges. Leave the hinges attached to the actual cabinet, this makes it easier to re-hang them. Only take down a few doors at a time to prevent them from getting too mixed up.
- Wipe down the doors as you go! I know-cleaning, boo. But trust me, you don’t want to have grime under the paper.
- Remove any handles/hardware from the door.
- Unroll your wrapping paper and lay the door, outside down, onto the paper. Give yourself at least three inches of paper on each side of the door. Cut the paper to size.
- Using Scotch tape, fold up the sides of the paper and tape them down. Fold the corners in the way you would a present and tape them down next.
- Re-attach the handles.
- Re-attach the door to the hinges still hung on the cabinet. I did some of these on my own but it was much easier to have an extra pair of hands to hold up the door.
- Repeat with the rest of the doors.
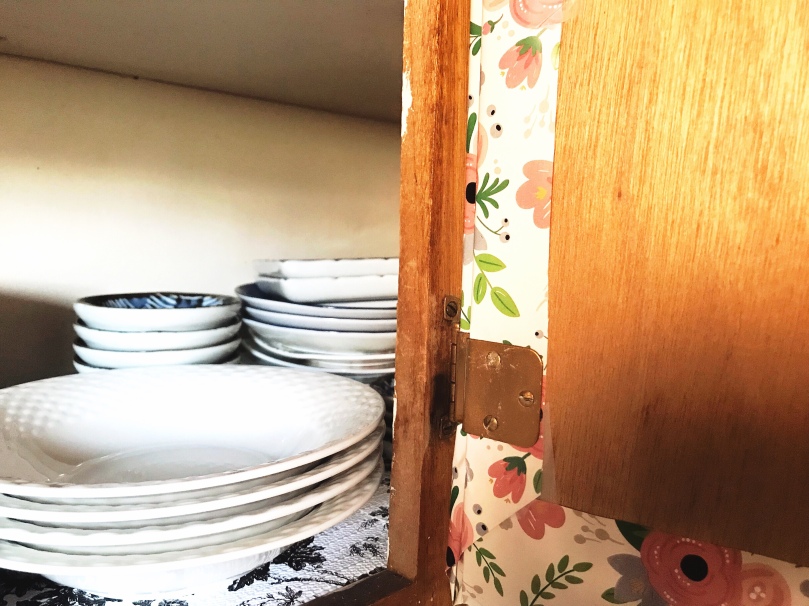

This was a super quick, easy, and cheap way to make my kitchen more beautiful and unique. I’ve had this paper up for a few months without a hitch. Luckily, I do not have any doors above my stove which could make the paper grimy, more quickly. If you do, I’d still put paper up but just buy enough wrapping paper to switch it out if it gets too bad.
Get creative with your paper choice! At my old apartment I used maps I had collected form roadside stops. It made for great conversation about my travels when friends came over.
Let me know if you try this and how it works!
xoxo,
Kate
